# Manage widget layers
{% hint style="success" %}
**Access Type**: Widgets - Editor
{% endhint %}
A layer is a specific interface within the widget to which an end-user can navigate. In this article we will cover how to do the following for an existing widget:
* [Add a widget layer](#add-a-widget-layer)
* [Edit widget layer name](#edit-widget-layer-name)
* [Delete widget layer](#delete-widget-layer)
* [Duplicate widget layer](#duplicate-widget-layer)
{% hint style="info" %}
For any newly created widget, Didomi provides a number of default layers to help your organization get started. These default layers can be customized with components, renamed, and/or deleted.
{% endhint %}
To start, click **Widgets** on the left-hand panel and select the **Edit** icon inline with a widget name.
***
### Add a widget layer
{% hint style="warning" %}
**Note**: There is a maximum of 4 layers per widget.
{% endhint %}
Navigate to the widget layers panel at the top of the widget editor and click the **+** icon.
Use the subsequent modal to give the layer a name and to select the format of the layer (pop in, top banner, etc... and click **Save** when finished.
{% hint style="info" %}
The layer does not have to match the current format of the widget.
{% endhint %}
The layer will be added to the widget and your organization can use the [component library](https://docs.didomi.io/moIvfcA7NSpjmwGZ7dzv/widgets/widget-editor/widget-components) to customize the interface of the layer.
### Edit widget layer name
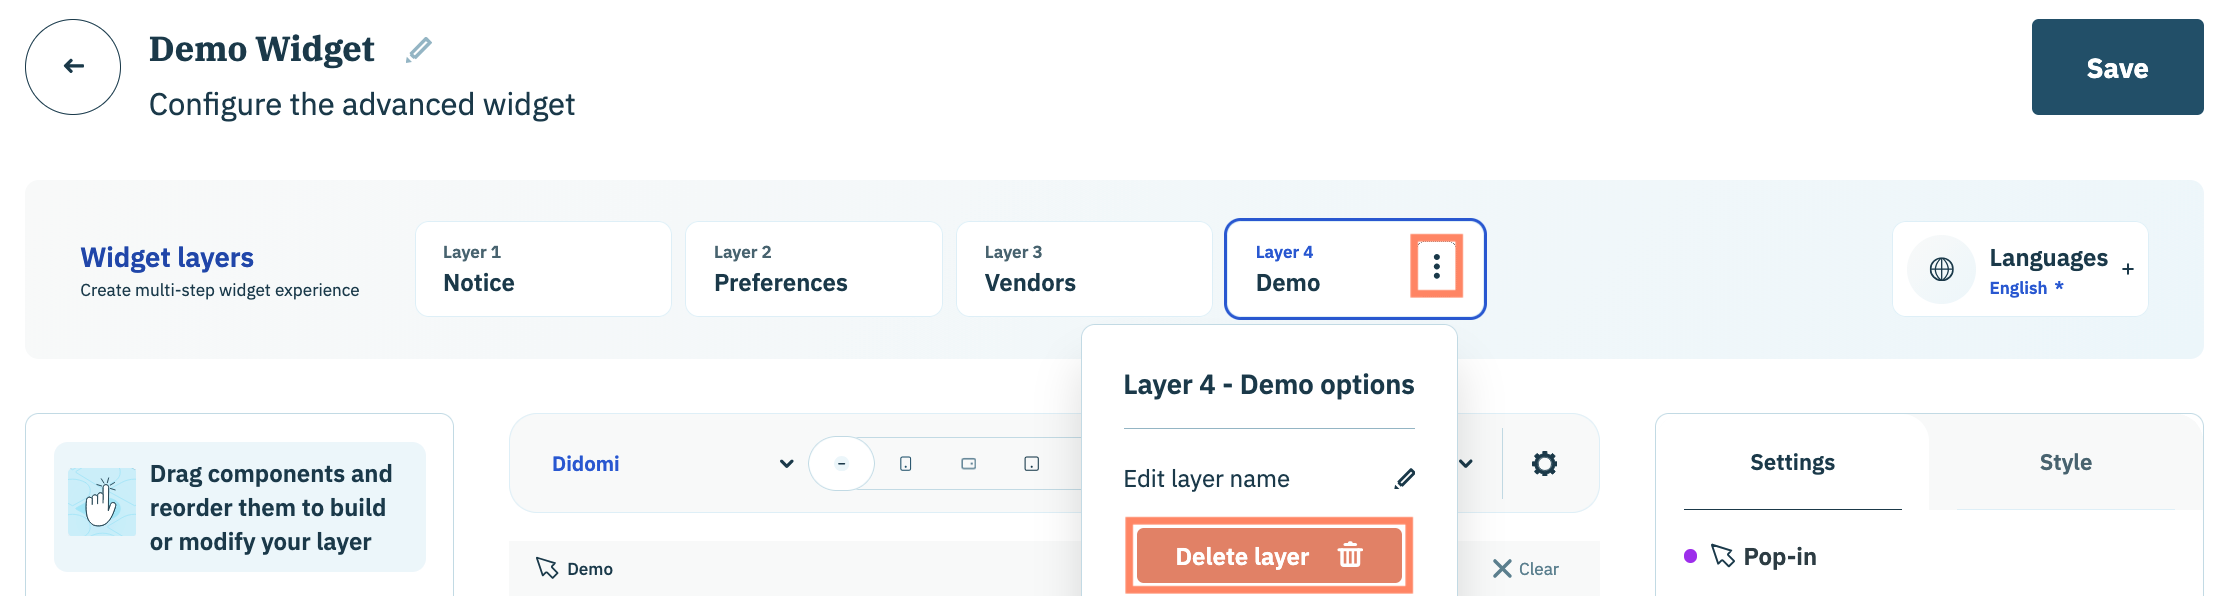
Navigate to the widget layers panel at the top of the widget editor and select a layer. Click the ellipsis icon inline with layer name and select **Edit layer name** from the drop-down menu.
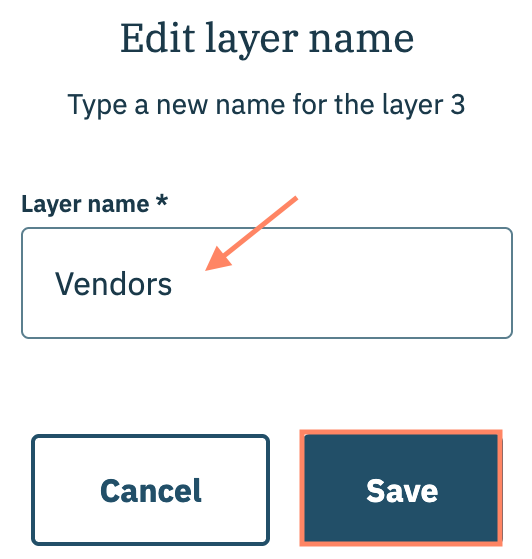
Use the subsequent modal to input the name of the layer in the provided field. Click **Save** when finished.
### Delete widget layer
Navigate to the widget layers panel at the top of the widget editor and select a layer. Click the ellipsis icon inline with layer name and select **Delete layer** from the drop-down menu.
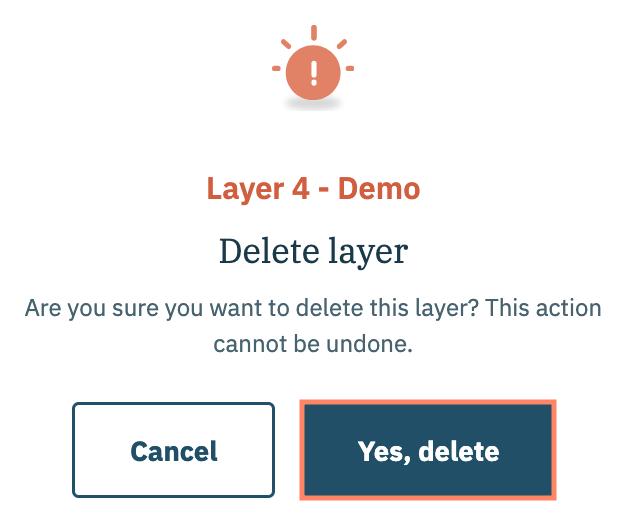
Confirm the decision to delete the layer in the subsequent modal and click **Yes, delete**.
### Duplicate widget layer
{% hint style="warning" %}
**Note**: There is a maximum of 4 layers per widget.
{% endhint %}
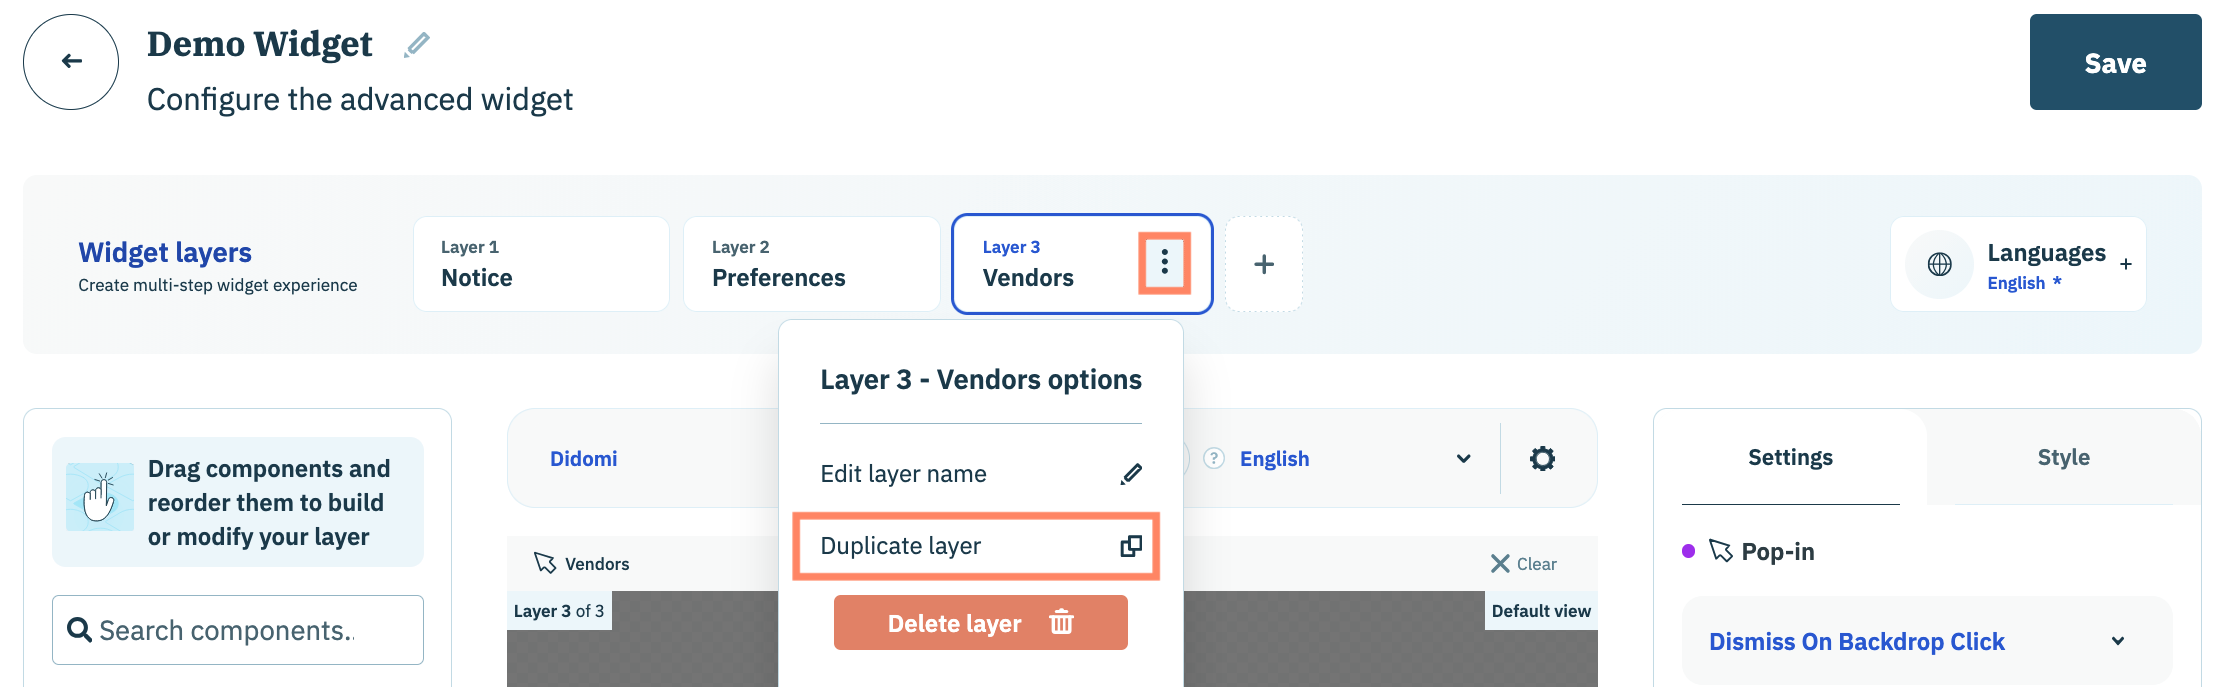
Navigate to the widget layers panel at the top of the widget editor and select a layer. Click the ellipsis icon inline with layer name and select **Duplicate layer** from the drop-down menu.
The layer and all of its configured components will be duplicated for the widget. The name of the layer will be the name of the original layer suffixed with **-Copy**.