> For the complete documentation index, see [llms.txt](https://docs.didomi.io/llms.txt). Markdown versions of documentation pages are available by appending `.md` to page URLs; this page is available as [Markdown](https://docs.didomi.io/integrations/ab-testing/kameleoon.md).
# Kameleoon
Kameleoon is an A/B test and web personalization tool. Although the vendor is part of the IAB's Transparency and Consent Framework, they also allow you to use their features without the TCF.
This integration will allow you to run A/B tests with variants of the consent notice and to analyze the different results in terms of consent rates.
### Configure your Didomi notice
In Didomi, you will need to create two Kameleoon vendors and two associated purposes. This will allow Kameloon to get the user consent value directly from the CMP.
#### **Create your purposes**
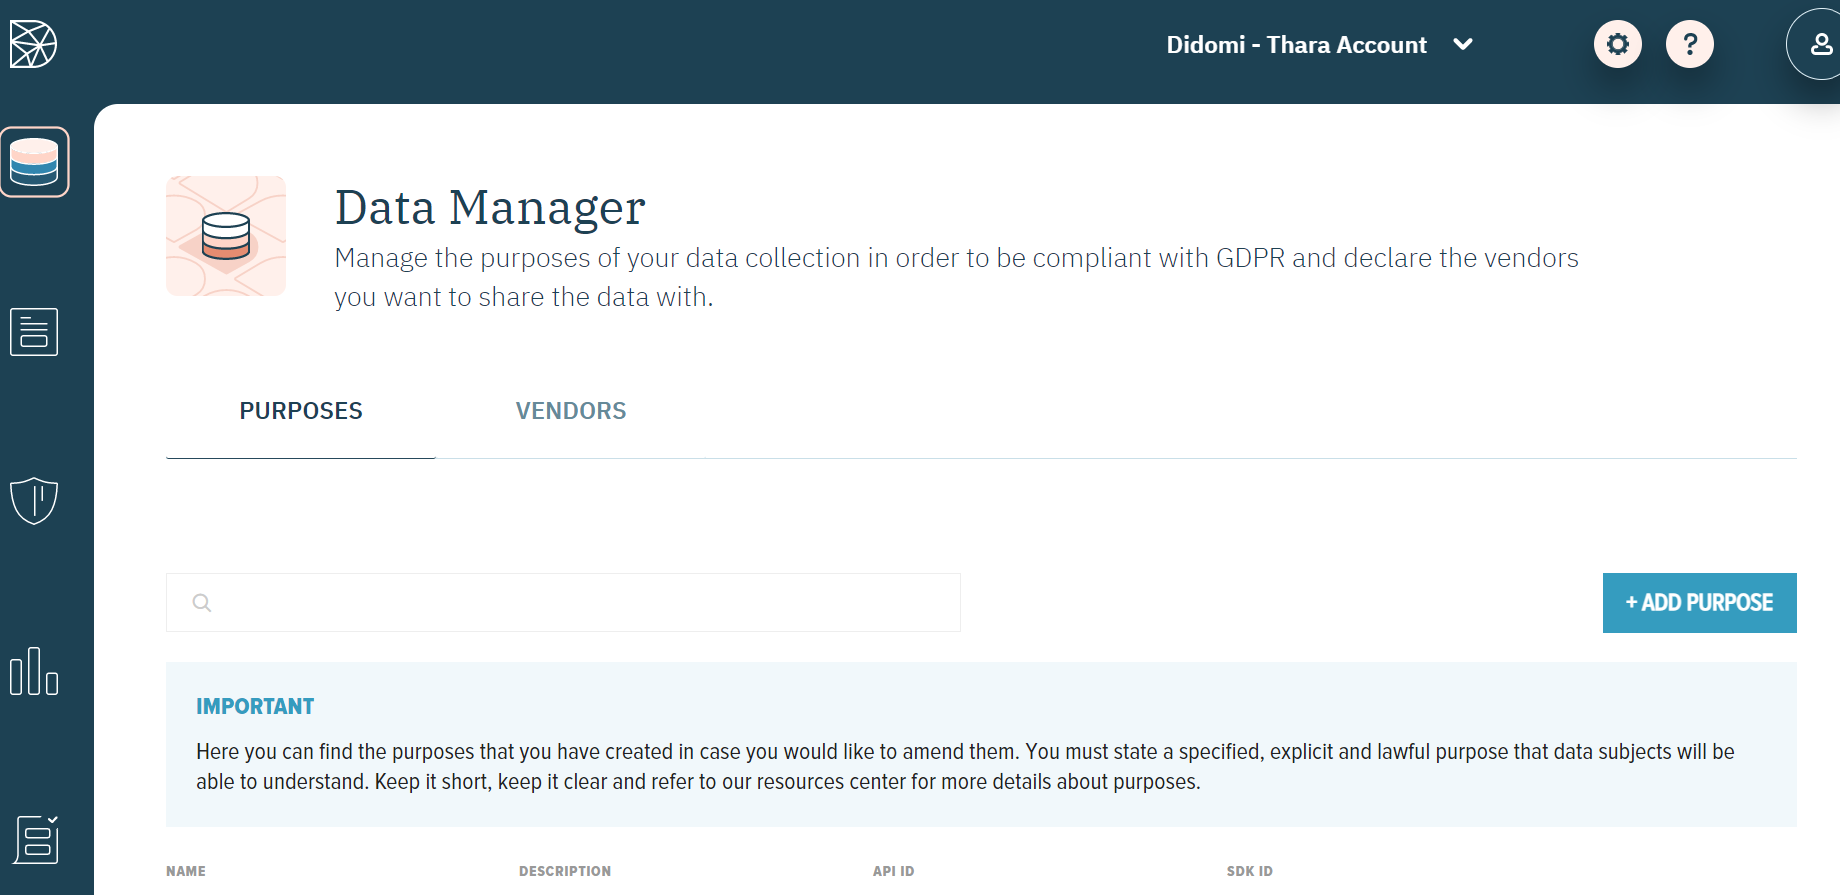
To do so, browse to your Didomi console and go to **Settings > Purposes** on the left menu to create the following purposes:
* AB testing
* Personalization
#### **Create your vendors**
You will also have to create two Kameleoon vendors:
1. Stay on **Data Manager.**
2. Go to **> VENDORS** on the right.
These vendors will have to be created with the following names and custom IDs:
* Kameleoon experiment (SDK ID: kameleoon-experiment)
* Kameleoon personalization (SDK ID: kameleoon-personalization)
The custom SDK ID is important, as Kameleoon will use these two values to get the user consent from Didomi.
#### **Configure your notice**
Once these vendors are created:
1. Browse to your notice configuration.
2. Go to the **Vendors & Purposes** step in **Consent Notices** (left menu).
3. Select the two vendors you previously created.
4. Make sure the SDK ID matches that of the Kameleeon vendors you created in the previous step.
#### Configure your website
Your notice is now ready to be used with Kameleoon:
1. Get the embed code in the **Embed** section of the notice configuration.
2. Place it on the top of your \ tag.
Thanks to the custom vendor ID you set when you created your vendors, Kameleoon will be able to get the user consent directly from the notice.
#### Configure Didomi on Kameleoon
To set up the Didomi integration in your Kameleoon account, follow [this guide](https://help.kameleoon.com/en/setting-up-didomi/) provided by Kameleoon.
**Configure a test**
If you need to configure a test notice:
* Browse through the documentation.
* Create a `window.didomiConfig` to change the banner format.
---
# Agent Instructions
This documentation is published with GitBook. GitBook is the documentation platform designed so that both humans and AI agents can read, navigate, and reason over technical content effectively. Learn more at gitbook.com.
## Querying This Documentation
If you need additional information that is not directly available in this page, you can query the documentation dynamically by asking a question.
Perform an HTTP GET request on the current page URL with the `ask` query parameter, and the optional `goal` query parameter:
```
GET https://docs.didomi.io/integrations/ab-testing/kameleoon.md?ask=&goal=
```
`ask` is the immediate question: it should be specific, self-contained, and written in natural language.
`goal` is optional and describes the broader end goal you are ultimately trying to accomplish on behalf of the user. GitBook uses it to tailor the answer towards what is most useful for that goal.
The response will contain a direct answer to the question and relevant excerpts and sources from the documentation.
Use this mechanism when the answer is not explicitly present in the current page, you need clarification or additional context, or you want to retrieve related documentation sections.